 |
|
 08-11-2019, 10:52 PM
|
#21
|
|
Bus Nut
Join Date: Nov 2015
Location: AZ
Posts: 478
Year: 2004
Engine: 7.3L Navistar T444e Diesel
|
Quote:
Originally Posted by EastCoastCB

|
THANK YOU!!!
By the way, this goes on in addition to, and after, the rust converter, correct?
|

|

|
|
08-11-2019, 11:01 PM
|
#22
|
|
Bus Nut
Join Date: Jul 2016
Location: Western Oregon
Posts: 876
Year: 1995
Coachwork: Blue-Bird
Chassis: TC RE 3408
Engine: 5.9 Cummins 12V Mechanical/Allison MT643
Rated Cap: Blue-Bird says 72 pass.
|
Yes, it goes on after the Ospho has been scrubbed and rinsed off. Some people use a pressure washer; I used a garden hose and an old broom.
Rust converters are just phosphoric acid, which you need to wash away before you put the paint on your newly prepared surface.
|
|
|
|
|
08-11-2019, 11:24 PM
|
#23
|
|
Bus Nut
Join Date: Nov 2015
Location: AZ
Posts: 478
Year: 2004
Engine: 7.3L Navistar T444e Diesel
|
Quote:
Originally Posted by gs1949
Yes, it goes on after the Ospho has been scrubbed and rinsed off. Some people use a pressure washer; I used a garden hose and an old broom.
Rust converters are just phoshoric acid, which you need to wash away before you put the paint on your newly prepared surface.
|
Awesome!
Thank you!
|
|
|
|
|
08-12-2019, 07:37 AM
|
#24
|
|
Bus Geek
Join Date: Sep 2014
Location: Eustis FLORIDA
Posts: 23,764
Year: 1999
Coachwork: Thomas
Chassis: Freighliner FS65
Engine: Cat 3126
Rated Cap: 15
|
Quote:
Originally Posted by Joe45
THANK YOU!!!
By the way, this goes on in addition to, and after, the rust converter, correct?
|
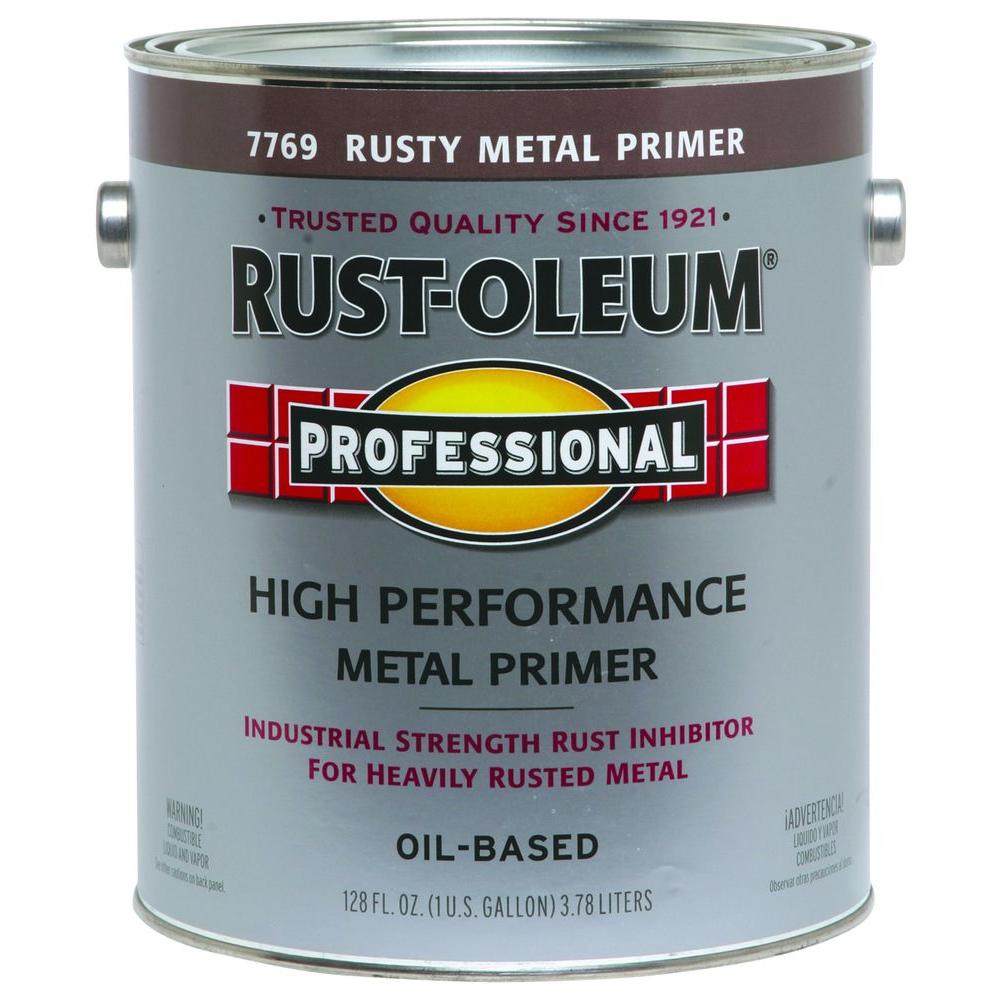
Yeah, its just primer. IDK why they say its for rusty metal. I take care of that rust first and use this after its converted.
|
|
|
|
|
08-12-2019, 11:57 AM
|
#25
|
|
Bus Geek
Join Date: Jan 2019
Location: Philadelphia
Posts: 7,000
Year: 2003
Coachwork: International
Chassis: CE 300
Engine: DT466e
Rated Cap: 65C-43A
|
Quote:
Originally Posted by EastCoastCB
|
Just went to a place in New Jersey (Fazzio's) that has umpteen million gallons of this stuff in stock. They also have tons of Ospho in stock, which is cool because I've been ordering it off Amazon - one order never arrived because the packaging opened, and a second order actually did arrive but the stuff was leaking into the box.
Anybody ever use SEM self-etching primer? I got some for repainting my windows and the stuff seems to adhere really well to metal (although of course I have no long-term data on it).
|
|
|
|
|
08-12-2019, 12:07 PM
|
#26
|
|
Bus Geek
Join Date: Sep 2014
Location: Eustis FLORIDA
Posts: 23,764
Year: 1999
Coachwork: Thomas
Chassis: Freighliner FS65
Engine: Cat 3126
Rated Cap: 15
|
Quote:
Originally Posted by musigenesis
Just went to a place in New Jersey (Fazzio's) that has umpteen million gallons of this stuff in stock. They also have tons of Ospho in stock, which is cool because I've been ordering it off Amazon - one order never arrived because the packaging opened, and a second order actually did arrive but the stuff was leaking into the box.
Anybody ever use SEM self-etching primer? I got some for repainting my windows and the stuff seems to adhere really well to metal (although of course I have no long-term data on it).
|
Never tried SEM but will be buying some soon.
|
|
|
|
|
05-23-2020, 05:12 AM
|
#27
|
|
New Member
Join Date: May 2020
Posts: 2
|
Iron Phosphate Converter, Automotive Grade Expoy Paint, and Rustoleum Top Coat
My floors were pretty rested because Thomas didn't do a good design or manufacturing job of sealing the window frames on my 2004 Thomas EF with RV style windows. They basically had just "I" shaped sections between the vertical fame members with lap joints over the Roof sheet metal. Thus giving ample water egress opportunity. I had to knock down all the old rust with a 6" angle grinder (combo flap disc and wire wheel) to prep everything. I left the galvanized areas that were still intact but sanded them. Covered it all with Iron Phosphate rust converter, removed the rust converter from the galvanized areas to prevent delaminating. The converter won't allow proper paint adhesion if it is inactivate on galvanized surfaces. Then I used some automotive grade epoxy primer. This comes with an activator so you have to work pretty quickly. I chose to mix it as directed and apply it with a roller and extension handle. This type of paint will stick to galvanized metal and pretty much any other clean and prepped surface. The advantage is that it is extremely durable. 2 coats of this was applied and then 2 coats of Rustoleum Oil Based Enamel paint was applied with roller was well. I used paint brushes in the corners and base of the walls. This is an amazing finish. Automotive epoxy paint was about $147 for 2 gallons and I used about 1.5 gallons of Rustolem Gloss white oil based enamel. The epoxy paint is pretty thin so it was able to flow into all the crevices. Don't spray it because it would be a fire hazard if the surface isn't proper ventilated. I'm very satisfied with the finish and how durable it is. I will be putting down a vapor barrier and insulation. The holes from the seat mounting points will be covered with Urethane type automotive type seam sealant. It can be applied under or over paint. As long as the surfaces are clean and prepped with adhesion promoter. Then I'll apply rubberized undercoating from the bottom exterior to match the rust proofing undercoating from the factory.
|
|
|
|
|
05-23-2020, 05:18 AM
|
#28
|
|
New Member
Join Date: May 2020
Posts: 2
|
Iron Phosphate Converter, Automotive Grade Expoy Paint, and Rustoleum Top Coat
My floors were pretty rested because Thomas didn't do a good design or manufacturing job of sealing the window frames on my 2004 Thomas EF with RV style windows. They basically had just "I" shaped sections between the vertical fame members with lap joints over the Roof sheet metal. Thus giving ample water egress opportunity. I had to knock down all the old rust with a 6" angle grinder (combo flap disc and wire wheel) to prep everything. I left the galvanized areas that were still intact but sanded them. Covered it all with Iron Phosphate rust converter, removed the rust converter from the galvanized areas to prevent delaminating. The converter won't allow proper paint adhesion if it is inactivate on galvanized surfaces. Then I used some automotive grade epoxy primer. This comes with an activator so you have to work pretty quickly. I chose to mix it as directed and apply it with a roller and extension handle. This type of paint will stick to galvanized metal and pretty much any other clean and prepped surface. The advantage is that it is extremely durable. 2 coats of this was applied and then 2 coats of Rustoleum Oil Based Enamel paint was applied with roller was well. I used paint brushes in the corners and base of the walls. This is an amazing finish. Automotive epoxy paint was about $147 for 2 gallons and I used about 1.5 gallons of Rustolem Gloss white oil based enamel. The epoxy paint is pretty thin so it was able to flow into all the crevices. Don't spray it because it would be a fire hazard if the surface isn't proper ventilated. I'm very satisfied with the finish and how durable it is. I will be putting down a vapor barrier and insulation. The holes from the seat mounting points will be covered with Urethane type automotive type seam sealant. It can be applied under or over paint. As long as the surfaces are clean and prepped with adhesion promoter. Then I'll apply rubberized undercoating from the bottom exterior to match the rust proofing undercoating from the factory.
|
|
|
|
|
05-23-2020, 06:16 AM
|
#29
|
|
Bus Geek
Join Date: Sep 2014
Location: Eustis FLORIDA
Posts: 23,764
Year: 1999
Coachwork: Thomas
Chassis: Freighliner FS65
Engine: Cat 3126
Rated Cap: 15
|
Thomas windows aren't any worse than other bus windows. They all leak.
|
|
|
|
|
05-23-2020, 06:21 AM
|
#30
|
|
Bus Geek
Join Date: Jan 2019
Location: Philadelphia
Posts: 7,000
Year: 2003
Coachwork: International
Chassis: CE 300
Engine: DT466e
Rated Cap: 65C-43A
|
Quote:
Originally Posted by EastCoastCB
Thomas windows aren't any worse than other bus windows. They all leak.
|
I can vouch for IC windows being just as leaky.
|
|
|
|
|
|
 Posting Rules
|
You may not post new threads
You may not post replies
You may not post attachments
You may not edit your posts
HTML code is Off
|
|
|
|
 » Recent Threads
 |
|
|
|
|
|
|
|
|
|
|
|
|
|
|
|
|
|
|
|
|
|
|
|
|
|
|
|
|
|
|
|
|
|
|
|
|
|


 Linear Mode

