 |
|
 03-18-2017, 02:25 AM
|
#21
|
|
Bus Crazy
Join Date: Jan 2017
Location: Massachusetts
Posts: 1,497
Year: 2002
Coachwork: Bluebird
Chassis: Bluebird
Engine: 5.9 Cummins 24v
Rated Cap: 72 pax
|
Quote:
Originally Posted by welcomehome

well i went to agri supply and got a 20 inch long 3/4" drive and an 8 inch extension. maybe i need to use a cheater bar too.
my plan is to locally source a single used 225/70/19.5 to take the same position as the one with the bubble. my logic being that a used tire might match the size of its partner rolling right next to it better than a new tire, hopefully causing less heat and wear.
do i need to look for any specific kind of tire because it is a duelly? or will any used 225/70/19.5 do?
|
Match the load rating and speed rating.
Sent from my XT1254 using Tapatalk
|

|

|
|
03-18-2017, 11:59 AM
|
#22
|
|
Bus Geek
Join Date: Feb 2016
Location: Willamina, Oregon
Posts: 6,409
Coachwork: 97 Bluebird TC1000 5.9
|
Everyone should know how to change a tire using hand tools. Some of you are still strong but not to many people can actually lift a large tire and wheel to mount it. Mechanics sure don't lift a heavy wheel into place unless it's with a pneumatic wheel lifter.
Any of us that actually drive long distances will eventually get a flat in a location where there is no service available. If you've got the right tools it's amazing what you can do when necessary. Even at my age I can still put a tire on a wheel with hand tools given enough time, but that practical experience comes from working in a gravel pit changing up to 27 tires per day. That included removing the tires from the rims and plugging the holes before remounting them. You can bet I didn't lift those dump truck tires onto the axles without a lever.
__________________
Robin
Nobody's Business
|
|
|
|
|
03-18-2017, 01:02 PM
|
#23
|
|
Mini-Skoolie
Join Date: Feb 2017
Location: WV
Posts: 25
Year: 2003
Coachwork: Bluebird
Chassis: TC2000
Engine: 5.9 Cummins
|
I'm late reading this thread. All is good as long if you have one piece rims. If you have two or three piece rims, you're dealing with a different animal. Let us know if you have the oldies and I can talk you through those.
|
|
|
|
|
03-18-2017, 03:24 PM
|
#24
|
|
Almost There
Join Date: Jan 2017
Location: somewhere over the rainbow
Posts: 73
Year: 2000
Coachwork: blue bird
Engine: international 3800 t444e 7.3L
|
how would i visually know the difference? im working on replacing my diesel pump now but within the next day or so i hope to have gathered all the knowledge/tools to take the bad tire off and replace it as well as do my leaky wheel seal. i still havent found a good tire yet tho. so what am i looking for that would tell me whether i have 1, 2, or 3 piece rims?
|
|
|
|
|
03-18-2017, 04:10 PM
|
#25
|
|
Mini-Skoolie
Join Date: Feb 2017
Location: WV
Posts: 25
Year: 2003
Coachwork: Bluebird
Chassis: TC2000
Engine: 5.9 Cummins
|
Look at the edge of the wheel.
Two piece:

The gap in the ring is obvious on a two piece.

Three piece rim: There's a tool that makes it easy to pry the safety ring off.

|
|
|
|
|
03-18-2017, 08:16 PM
|
#26
|
|
Almost There
Join Date: Jan 2017
Location: somewhere over the rainbow
Posts: 73
Year: 2000
Coachwork: blue bird
Engine: international 3800 t444e 7.3L
|
at least from the outside, my rims dont look like any of those pics. no split in my rims except in the middle where the two tires meet. it kind of looks like two rims were sandwiched together and the same bolts are holding both rims on.
i definately see load rating "f". i looked at the tire but couldnt find any thing labeled "speed rating". is it marked in code on the tire or is it something i have to look up?
|
|
|
|
|
03-18-2017, 08:23 PM
|
#27
|
|
Bus Crazy
Join Date: Jan 2017
Location: Massachusetts
Posts: 1,497
Year: 2002
Coachwork: Bluebird
Chassis: Bluebird
Engine: 5.9 Cummins 24v
Rated Cap: 72 pax
|
Quote:
Originally Posted by welcomehome
at least from the outside, my rims dont look like any of those pics. no split in my rims except in the middle where the two tires meet. it kind of looks like two rims were sandwiched together and the same bolts are holding both rims on.
i definately see load rating "f". i looked at the tire but couldnt find any thing labeled "speed rating". is it marked in code on the tire or is it something i have to look up?
|
Don't know where it is on your tires. But all tires have dot number. Somewhere on there it should say "max load" and "max pressure" and the speed rating is a letter.
https://www.tirebuyer.com/education/...e-descriptions
Here is a better explanation than I can give. Lol
Sent from my XT1254 using Tapatalk
|
|
|
|
|
03-18-2017, 11:11 PM
|
#28
|
|
Bus Geek
Join Date: Sep 2014
Location: Eustis FLORIDA
Posts: 23,764
Year: 1999
Coachwork: Thomas
Chassis: Freighliner FS65
Engine: Cat 3126
Rated Cap: 15
|
Tire DOT date codes are four digits. first two are the month, second two are the year.
|
|
|
|
|
03-19-2017, 07:21 AM
|
#29
|
|
Bus Geek
Join Date: Sep 2014
Location: Eustis FLORIDA
Posts: 23,764
Year: 1999
Coachwork: Thomas
Chassis: Freighliner FS65
Engine: Cat 3126
Rated Cap: 15
|
Quote:
Originally Posted by EastCoastCB
Tire DOT date codes are four digits. first two are the month, second two are the year.
|
First two are the WEEK. Second two the year. Sorry. Was late!
|
|
|
|
|
03-19-2017, 07:45 AM
|
#30
|
|
Mini-Skoolie
Join Date: Feb 2017
Location: WV
Posts: 25
Year: 2003
Coachwork: Bluebird
Chassis: TC2000
Engine: 5.9 Cummins
|
I've never heard of speed ratings for truck tires. By truck I mean 20, 22.5, 24 and 24.5 tires. Something else to consider is a recap. I use Bandags. Those won't throw alligators. It's a glue process which is then set by heat. I've run those for thirty year s(obviously not the same tires) with no problems. The tread usually lasts longer than factory.
Goodyear may use the same process.
I wouldn't get rid of tires based solely on age. A cap shop can inspect them to determine if they're still good.
|
|
|
|
|
08-02-2018, 07:02 AM
|
#31
|
|
Almost There
Join Date: Mar 2017
Location: The 'Zarks
Posts: 90
Year: 1996
Coachwork: Bluebird
Chassis: All American
|
I have changed tires on a variety of vehicles, like a spare tire, but have never replaced the tires on rims aside from mountain bikes. I would rather save money and get it done myself but I'm worried if I get it wrong it would be dangerous. Both of the inner dual tires need replacing on my bus.
|
|
|
|
|
08-02-2018, 07:14 AM
|
#32
|
|
Bus Crazy
Join Date: Nov 2011
Location: Sault Ste. Marie, Ontario
Posts: 1,793
Year: 1997
Coachwork: Thomas
Chassis: B3800 Short bus
Engine: T444E
Rated Cap: 36
|
Quote:
Originally Posted by Chess
I have changed tires on a variety of vehicles, like a spare tire, but have never replaced the tires on rims aside from mountain bikes. I would rather save money and get it done myself but I'm worried if I get it wrong it would be dangerous. Both of the inner dual tires need replacing on my bus.
|
It can be done with only basic (but big) tools, but it's a pain in the arse and you need to do research and take all the safety precautions.
I did all six of my own with a 20-ton jack; 4x4 wood cribbing; a 4-foot breaker bar with a 1-1/4" socket (Dayton style rims) some pry bars and an air compressor.
If you're going to use pry bars be very careful that you don't damage the bead! Mine were old and dull, so it wasn't a problem, but fresh ones would eat into the rubber fast. Tire spoons are the proper way to go.
The first tire took me almost 2 hours to figure out. Subsequent tires were much faster. 30 - 45 minutes each to swap over. It's good knowledge for my use case since I like to do things at my own pace on the property, or if I ever needed to do it out in 'the field'.
I was able to inflate the first tire by wrapping a big ratchet strap around the tire tread and tightening it to spread the beads out a bit. It was too much work and frustration so I ended up building a bead seater air tool.
Also note that the tires are HEAVY. As in over 100lbs of rubber each.
If this doesn't sound like something you are comfortable with then bring it to a shop.
One day I'll add a couple heavy duty tire spoons to my bus kit.

|
|
|
|
|
08-02-2018, 08:51 AM
|
#33
|
|
Bus Nut
Join Date: Jul 2017
Location: Rapid City, SD
Posts: 993
Year: 2001
Coachwork: Blue Bird
Chassis: CS RE
Engine: ISC 8.3 L 260 hp
Rated Cap: 36
|
Quote:
Originally Posted by Chess
I have changed tires on a variety of vehicles, like a spare tire, but have never replaced the tires on rims aside from mountain bikes. I would rather save money and get it done myself but I'm worried if I get it wrong it would be dangerous. Both of the inner dual tires need replacing on my bus.
|
Chess,
It would be much better to let a shop handle this. Considering the time it would take you vs what the shop would charge you would be ahead to let the shop do it. Also the shop will be able to balance the wheel for you.
Ted
|
|
|
|
|
08-02-2018, 09:01 AM
|
#34
|
|
Bus Geek
Join Date: Mar 2011
Location: Houston, Texas
Posts: 8,462
Year: 1946
Coachwork: Chevrolet/Wayne
Chassis: 1- 1/2 ton
Engine: Cummins 4BT
Rated Cap: 15
|
As long as we are on the subject...
I know it is obvious to most folks, but have also heard others say "gee...I never thought of that" so here goes again...
If you drive a dually rig, you have two "spares" on the rear axle that are inflated and ready to use in an emergency. Pretty rare to have two go flat on one side and way easier to pull a rear wheel off and put it where needed than to try and deal with taking one of these beasts off the rim out in the boonies.
Just a reminder.
|
|
|
|
|
08-02-2018, 10:18 AM
|
#35
|
|
Bus Crazy
Join Date: Nov 2011
Location: Sault Ste. Marie, Ontario
Posts: 1,793
Year: 1997
Coachwork: Thomas
Chassis: B3800 Short bus
Engine: T444E
Rated Cap: 36
|
Very true, but with Dayton's you need two rims to be able to secure the tires on the rear.
Having the skills to quickly unmount a tire from the rim is still valuable in my case to not have that rubber flopping around and potentially tearing free.
I think with hub pilot and stud pilot wheels you can get away with installing just a single one.. Can anyone speak to this?
|
|
|
|
|
08-02-2018, 11:30 AM
|
#36
|
|
Bus Crazy
Join Date: Feb 2012
Location: Salt Lake City Utah
Posts: 1,635
Year: 2000
Chassis: Blue Bird
Engine: ISC 8.3
|
With hub pilot the ability to install just one wheel will depend on whether the threads on the lug studs go down low enough -- the stud may have a shoulder with no threads, and if that rises above the face of the inner wheel, mechanically it's not going to work.
With stud pilot there's an inner nut and an outer nut. The inner wheel can be installed alone with just the inner nuts. Note that when an outer nut has been loosened, the inner nut requires re-torquing because it may have been loosened too. Come to think of it, the inner could be mounted backward so that it sits almost where the outer belongs.
Changing tubeless 11R22.5 tires isn't hard (after you've done it a few times). I've dismounted and mounted 10 in the past month using only a pair of 18" tire spoons. It takes me about 15 minutes each now. The biggest secret is to use tire lube very generously. I used Myers Slip-tac, but there are lots of tire lubes on the market.
Some of the beads I seated were VERY stubborn. I wished I'd had an air tank like the one jazty showed, and I very nearly built one, but I found an alternative: a bicycle tube. I kid you not. After the tire is on the wheel, apply lube generously on the sidewall near the bead and on the wheel bead surface. Inflate a bicycle tube just enough to give it form, then place it between the tire sidewall and the wheel. Clip on the air chuck to the valve stem. The bicycle tube covers the gap and holds the air inside while the tire inflates; as the tire sidewall swells it pushes the tube out of the gap. The tube may collapse and get pinched in some places; if you used enough lubricant it'll be pretty easy to tug it out.
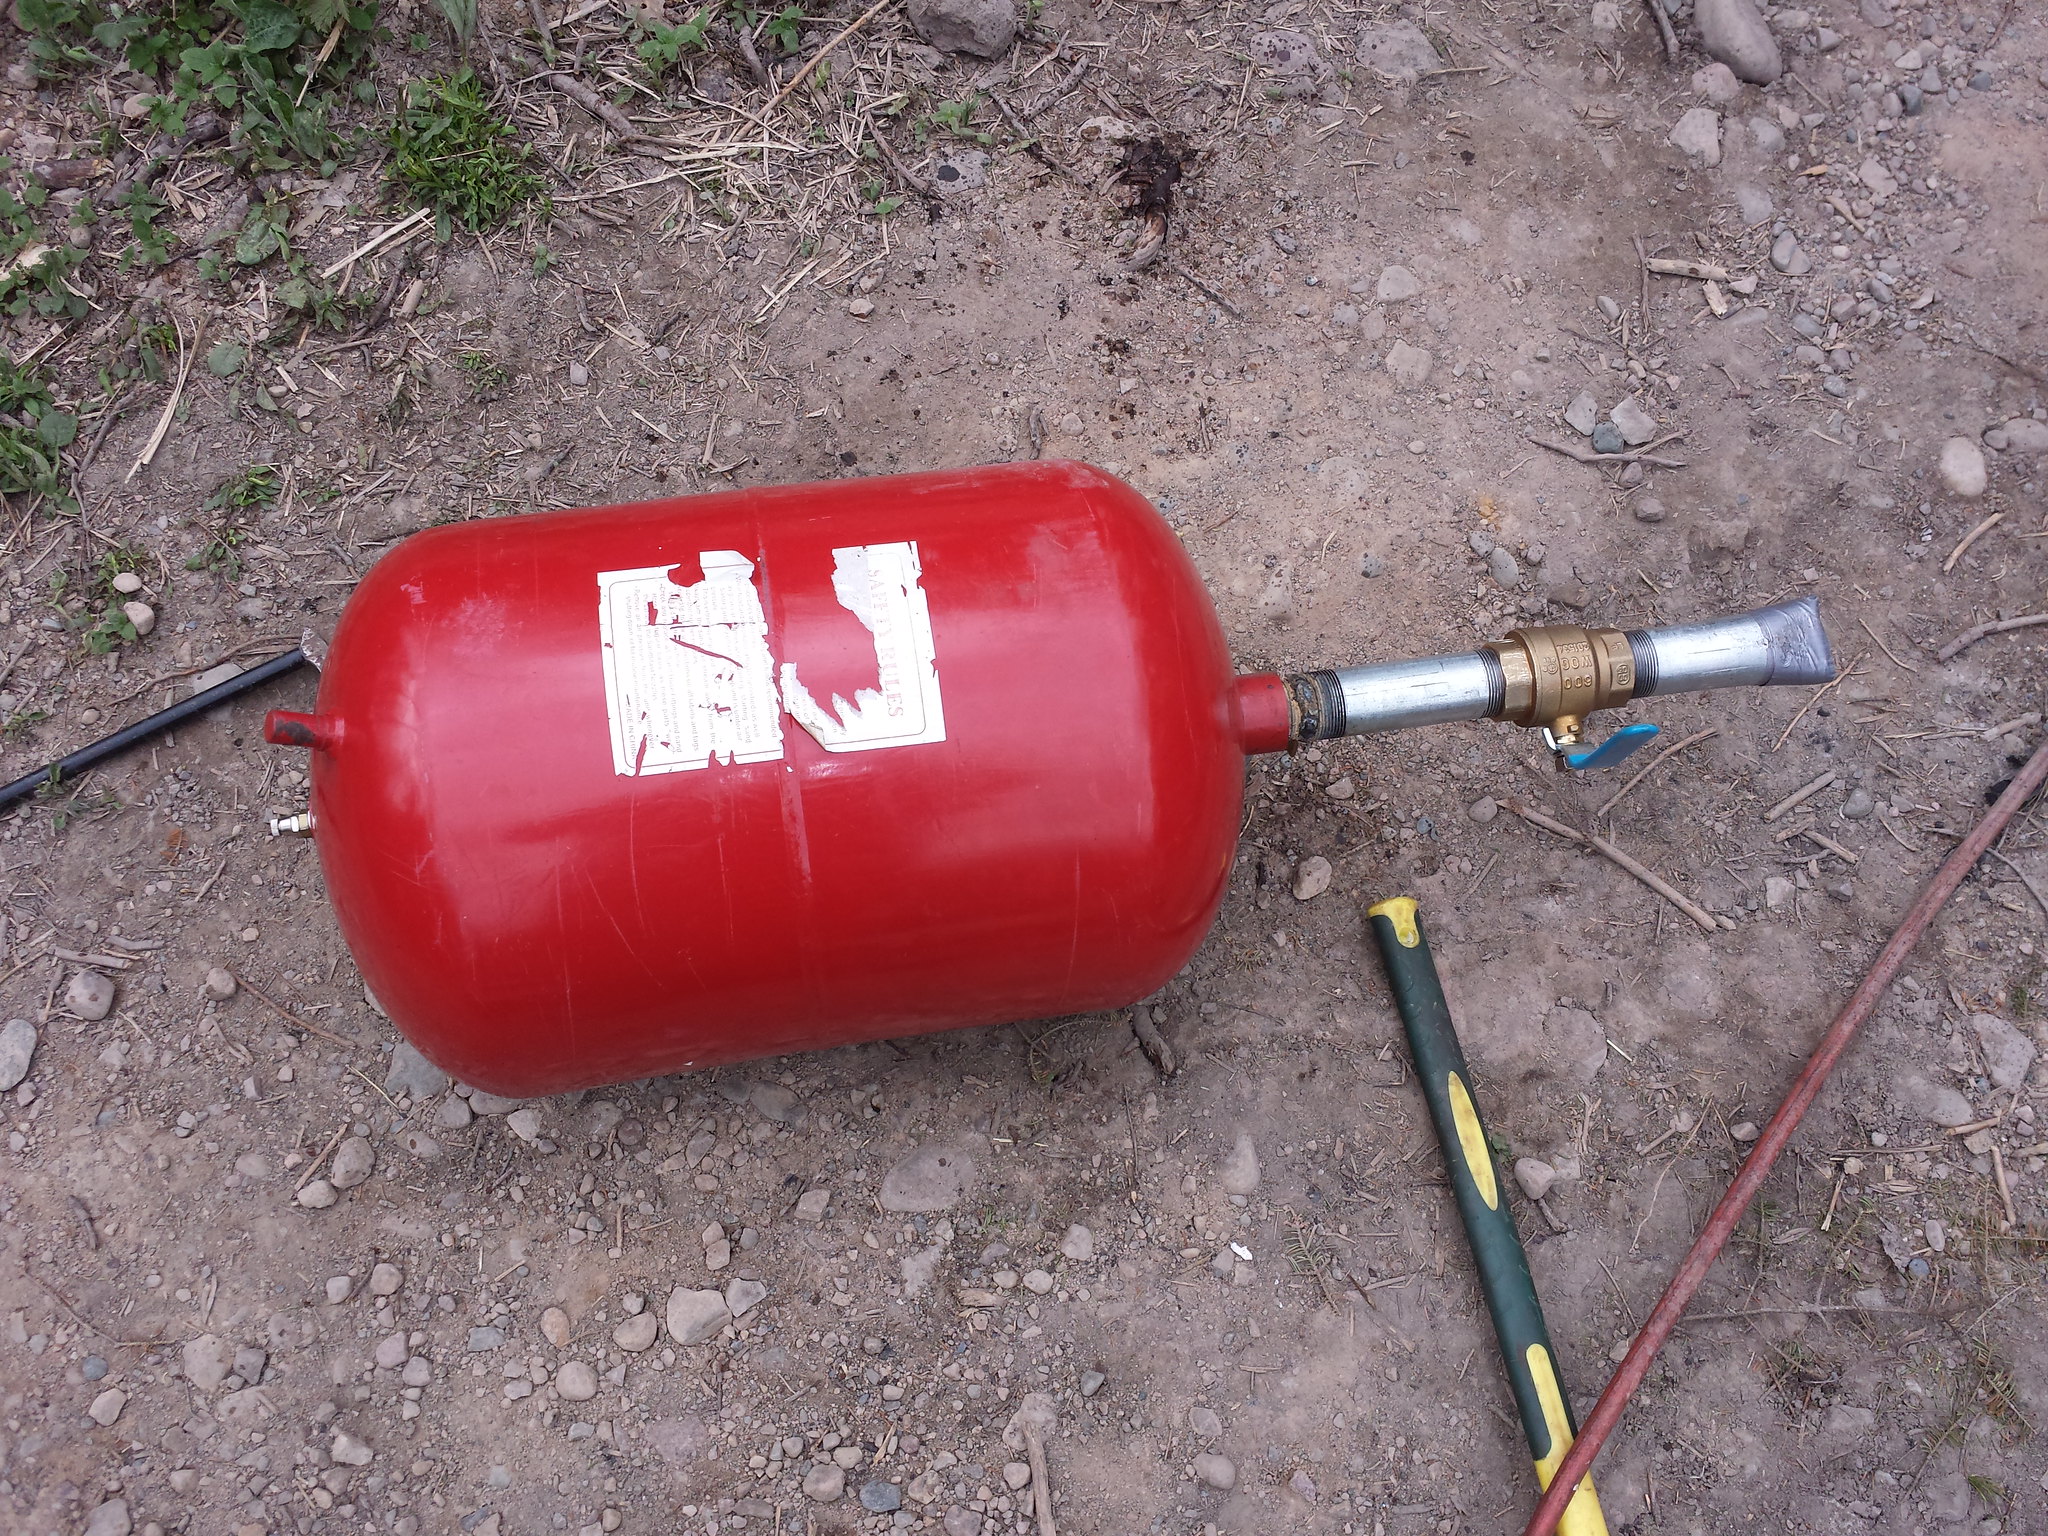
Beware the hazards of inflating a tire without a cage. In my personal (ignorant) judgement, I decided I was comfortable being in front of the tire until I had just enough pressure to lift the bead into place. Then I placed the wheel onto the axle with nuts spun on most of the way, clipped the air line on, and cleared the area until inflation had completed.
|
|
|
|
|
08-02-2018, 11:44 AM
|
#37
|
|
Bus Geek
Join Date: Dec 2017
Location: Dawsonville, Ga.
Posts: 10,482
Year: 1999
Coachwork: Genesis
Chassis: International
Engine: DT466/3060
Rated Cap: 77
|
Quote:
Originally Posted by WVDarren
I've never heard of speed ratings for truck tires. By truck I mean 20, 22.5, 24 and 24.5 tires. Something else to consider is a recap. I use Bandags. Those won't throw alligators. It's a glue process which is then set by heat. I've run those for thirty year s(obviously not the same tires) with no problems. The tread usually lasts longer than factory.
Goodyear may use the same process.
I wouldn't get rid of tires based solely on age. A cap shop can inspect them to determine if they're still good.
|
All tires have a speed rating.. On a, for example, 11R22.5 H/16PR 146/143M, the last set of digits is the load rating and speed rating. This tires speed rating being an M which correlates to 81mph.
As I understand it you can not legally run recaps for steer tires.
|
|
|
|
|
08-02-2018, 12:09 PM
|
#38
|
|
Bus Crazy
Join Date: Nov 2011
Location: Sault Ste. Marie, Ontario
Posts: 1,793
Year: 1997
Coachwork: Thomas
Chassis: B3800 Short bus
Engine: T444E
Rated Cap: 36
|
Quote:
Originally Posted by family wagon
...I found an alternative: a bicycle tube. I kid you not. After the tire is on the wheel, apply lube generously on the sidewall near the bead and on the wheel bead surface. Inflate a bicycle tube just enough to give it form, then place it between the tire sidewall and the wheel. Clip on the air chuck to the valve stem. The bicycle tube covers the gap and holds the air inside while the tire inflates; as the tire sidewall swells it pushes the tube out of the gap. The tube may collapse and get pinched in some places; if you used enough lubricant it'll be pretty easy to tug it out.
|
Wow! That's a great trick! I often have a spare tube for my bicycle when on the road anyhow..
|
|
|
|
|
08-02-2018, 12:12 PM
|
#39
|
|
Bus Crazy
Join Date: Nov 2011
Location: Sault Ste. Marie, Ontario
Posts: 1,793
Year: 1997
Coachwork: Thomas
Chassis: B3800 Short bus
Engine: T444E
Rated Cap: 36
|
Quote:
Originally Posted by family wagon
Beware the hazards of inflating a tire without a cage. In my personal (ignorant) judgement, I decided I was comfortable being in front of the tire until I had just enough pressure to lift the bead into place. Then I placed the wheel onto the axle with nuts spun on most of the way, clipped the air line on, and cleared the area until inflation had completed.
|
I inflated mine with a clip-on chuck up to about 40psi while they were laying flat on the ground and I was very far away  After installing I brought them up to the final pressure after installing them and while standing out of the blast path (75psi is about right for the rears based on my buses weight, 85psi for the front).
|
|
|
|
|
08-02-2018, 12:20 PM
|
#40
|
|
Bus Geek
Join Date: May 2009
Location: Columbus Ohio
Posts: 18,830
Year: 1991
Coachwork: Carpenter
Chassis: International 3800
Engine: DTA360 / MT643
Rated Cap: 7 Row Handicap
|
no recaps for steers.. def check speed rating, many truck tires are 75 mph max.. some of the chinese are 70 mph max...
|
|
|
|
|
|
 Posting Rules
|
You may not post new threads
You may not post replies
You may not post attachments
You may not edit your posts
HTML code is Off
|
|
|
|
 » Recent Threads
 |
|
|
|
|
|
|
|
|
|
|
|
|
|
|
|
|
|
|
|
|
|
|
|
|
|
|
|
|
|
|
|
|
|
|
|
|
|


 Linear Mode

