Okay guys and dolls I made a little progress today.
In the scheme of things I didn't get a huge amount done but when you consider my lawn is no longer going to seed (grass was over a foot high) I went out with the wife and mother and I made a trip to Menards it starts looking more reasonable.
On to the bus.
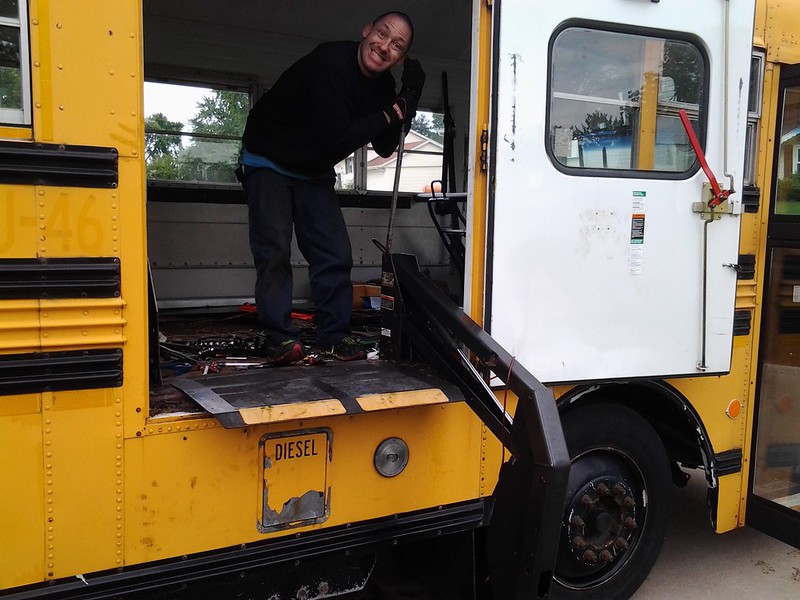
This is for those rust free dry state people again.
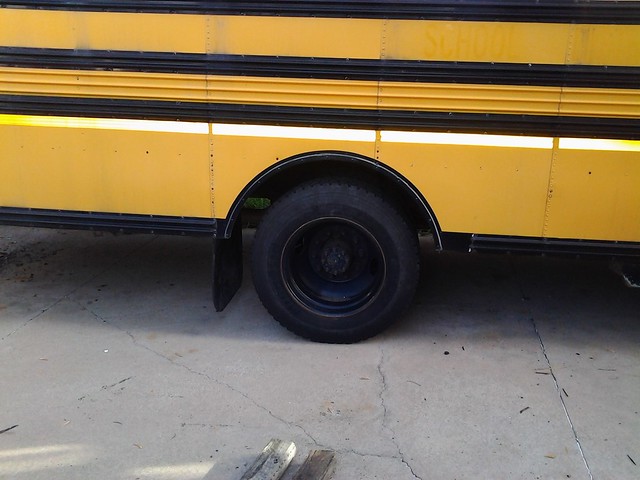 IMG_20140525_180643
 by
orangepeel91us, on Flickr.
Notice the lack of rust in this picture. For a bus that lived it's life in the north western Chicago suburbs there is very little rust.
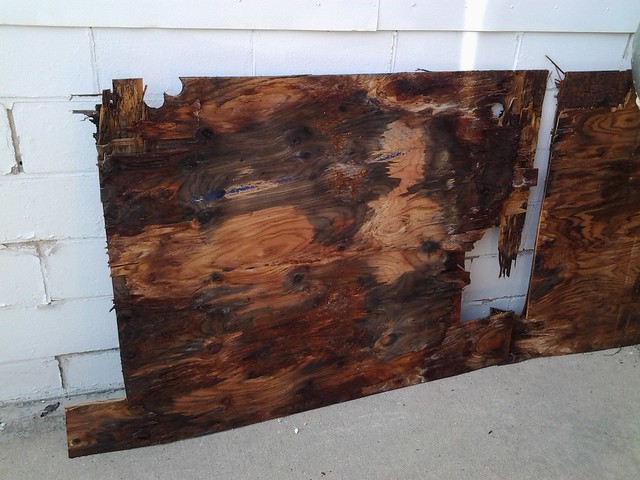
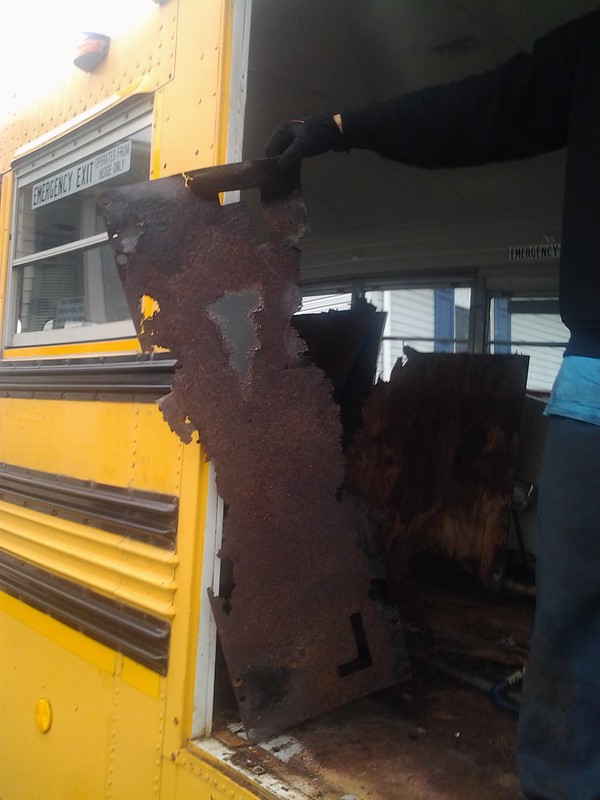
Now look at this.
 IMG_20140525_180622
 by
orangepeel91us, on Flickr.
And this.
 IMG_20140525_180610
 by
orangepeel91us, on Flickr.
This is the bottom of some of the plywood I pulled out today. The side that was against the steel floor.
Notice how one of them looks like it's still wet.
It is by the way.
This is what it has done to the floor.
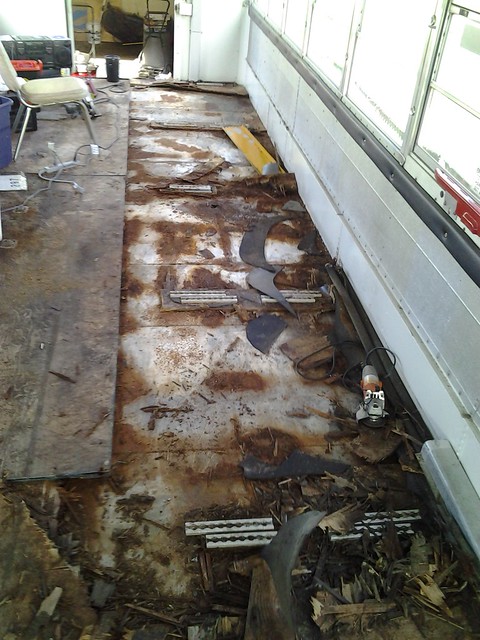 IMG_20140525_180818
 by
orangepeel91us, on Flickr
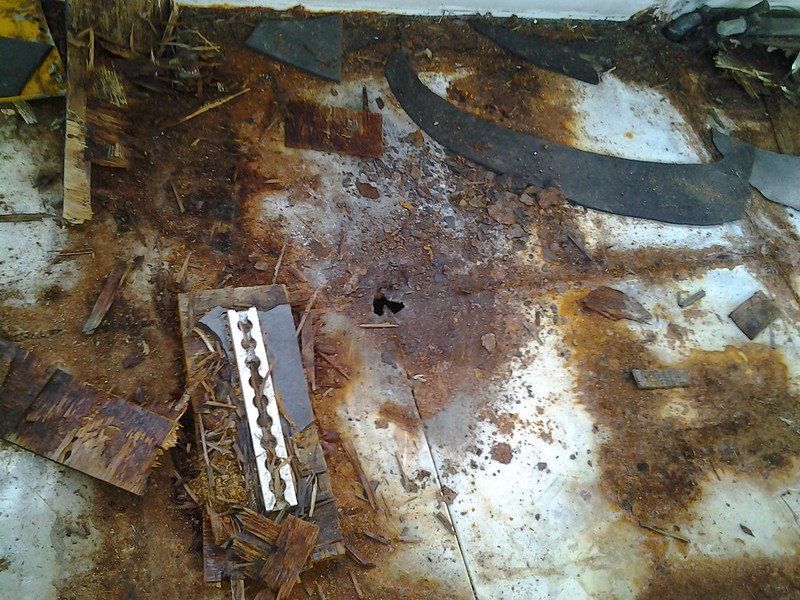 IMG_20140525_180842
 by
orangepeel91us, on Flickr
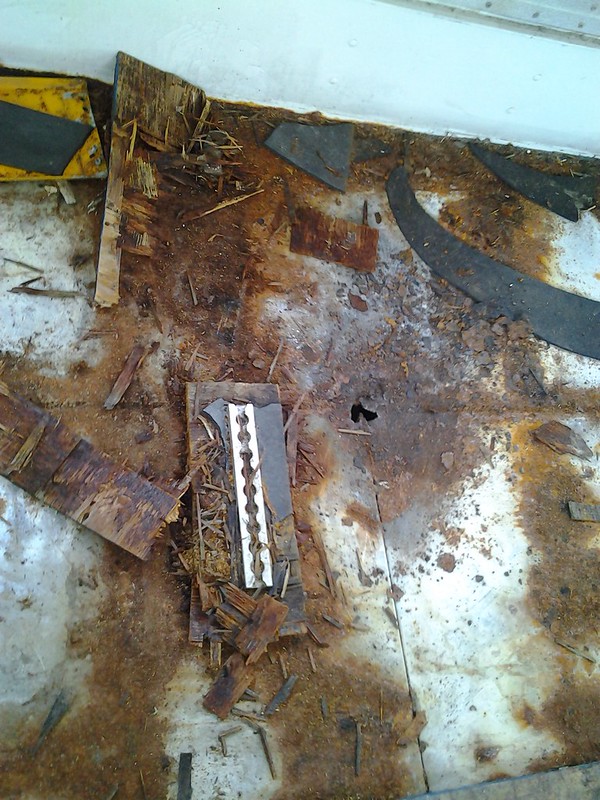 IMG_20140525_181843
 by
orangepeel91us, on Flickr.
Most of it is just surface rust and Por 15 will solve the issue adequately.
The hole on the other hand is a different matter. It's a tossup as to what caused more of the problem, water getting passed the rubber and rotting the wood or salt coming up. That hole is directly above the left rear tires. I also have to patch the floor where the heater hoses go down and across to the other side. There are two heaters from the factory. One above the rear door and the other on the right side. I intend to move the one on the side forward and to the left side instead, that will get it out of my shower. I was also thinking of just removing the rear heater completely. Nobody is going to be riding back there when the bus is being driven and it's useless when the bus is stationary.
I have never patched metal before.
After I cut the cancer out how do I fill in the gap?
Just put a piece of 12 gauge overlapping the cut out section, properly coated so it doesn't rust out too?
This pic is to illustrate the difference between my bus and a normal TC2000. Note the gap between the rear bumper and floor.
There is an aluminum ramp in there.
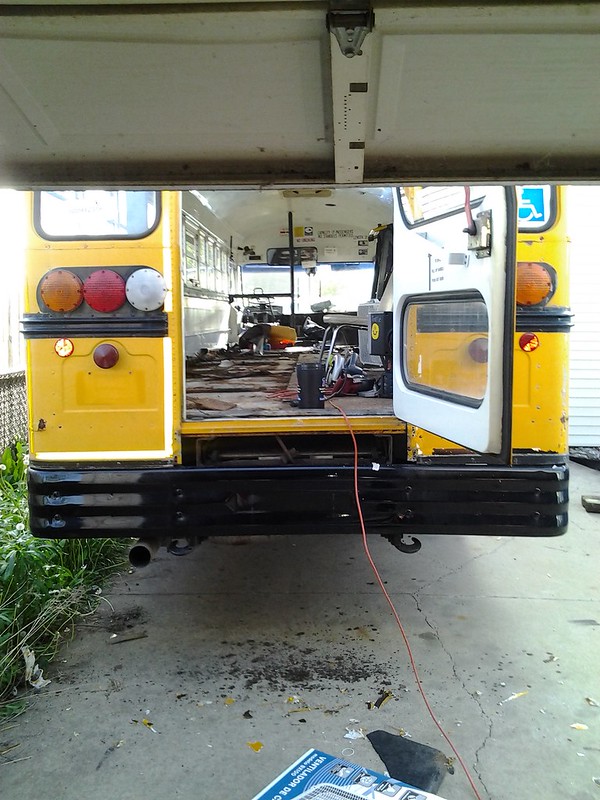 IMG_20140525_180707
 by
orangepeel91us, on Flickr


 Linear Mode


