 |
|
 02-27-2019, 03:33 PM
|
#61
|
|
Bus Nut
Join Date: Sep 2017
Location: Damascus, OR
Posts: 681
Year: 2004
Chassis: International
Engine: T444e w/ 2000 Allison Trans
Rated Cap: 35
|
Those are my thoughts on the brick. just a little insurance on my older stove. From diagrams I can see there use to be some sort of bottom plate that in no longer there. The cast iron is still nice and thick and in good condition, but figured a lining of bricks wouldn't hurt. I was also thinking of adding on the sides (perhaps just the bottom half) for the very same reason, plus there are 2 plates on each side (one of which is missing, and the other is warped and cracked).
|

|

|
|
02-27-2019, 04:53 PM
|
#62
|
|
Bus Crazy
Join Date: Jun 2013
Location: Picton,Ont, Can.
Posts: 1,956
Year: 1997
Coachwork: Bluebird
Chassis: GMC
Engine: Cat 3116
Rated Cap: 72
|
Quote:
Originally Posted by Sleddgracer

the fire brick is to prevent the steel from burning through - brick is sually only installed where the wood burns the hottest
|
^^^^THIS!^^^^^
I have seen my stove get redhot in places and am glad for the firebrick covering the 1/4" plate steel. I would definitely use it in a cast stove such as the OP's.
Great looking door but it sits to high for my liking as far as the pounding it will get when travelling.
John
__________________
Question everything!
|
|
|
|
|
02-27-2019, 05:58 PM
|
#63
|
|
Bus Geek
Join Date: Dec 2017
Location: Dawsonville, Ga.
Posts: 10,482
Year: 1999
Coachwork: Genesis
Chassis: International
Engine: DT466/3060
Rated Cap: 77
|
Quote:
Originally Posted by Sleddgracer
the fire brick is to prevent the steel from burning through - brick is sually only installed where the wood burns the hottest
|
Mine is lined on the bottom and 3 walls.
|
|
|
|
|
02-27-2019, 08:07 PM
|
#64
|
|
Bus Geek
Join Date: Mar 2011
Location: Houston, Texas
Posts: 8,462
Year: 1946
Coachwork: Chevrolet/Wayne
Chassis: 1- 1/2 ton
Engine: Cummins 4BT
Rated Cap: 15
|
Learn sumthin' new everyday here!
(Course there are not a lot of cast iron stoves down here in the tropics...that's why I had to ask)
|
|
|
|
|
03-16-2019, 09:23 PM
|
#65
|
|
Bus Nut
Join Date: Sep 2017
Location: Damascus, OR
Posts: 681
Year: 2004
Chassis: International
Engine: T444e w/ 2000 Allison Trans
Rated Cap: 35
|
Latest progress picks from the last few days.


Got the grill painted after it finally got warm enough to paint.... eventually the bumpers and rails will all be painted the same color as the grill.
The cedar t&g install is coming along nicely. the 1x6x6 boards were tricky where the bend in the ceiling is the sharpest. attaching to the ribs with 1.5 inch hex self tapping screws.
I put sill tape over all the ribs to help with a vapor barrier between the metal and wood to keep condensation down.
|
|
|
|
|
03-16-2019, 10:42 PM
|
#66
|
|
Bus Nut
Join Date: May 2018
Location: Wamego Ks
Posts: 617
Year: 2007
Chassis: Collins
Engine: 6.6L LMM Duramax
|
I like what you did with your propane setup! Im thinking something like that as well. Thanks for sharing! I also like the cedar t&g boards. Can you show a close up of the hex self tappers you are using for that or do you have a link or anything? I was wondering how I could attach t&g boards without having a wood furring strip first...
__________________
2007 Collins (Chevy Express 3500)
LMM Duramax Diesel with newly rebuilt 4L85E Transmission!
|
|
|
|
|
03-16-2019, 10:56 PM
|
#67
|
|
Bus Nut
Join Date: Sep 2017
Location: Damascus, OR
Posts: 681
Year: 2004
Chassis: International
Engine: T444e w/ 2000 Allison Trans
Rated Cap: 35
|
Quote:
Originally Posted by Frochevy
I like what you did with your propane setup! Im thinking something like that as well. Thanks for sharing! I also like the cedar t&g boards. Can you show a close up of the hex self tappers you are using for that or do you have a link or anything? I was wondering how I could attach t&g boards without having a wood furring strip first...
|
https://www.lowes.com/pd/Hillman-10-...-Count/3036256
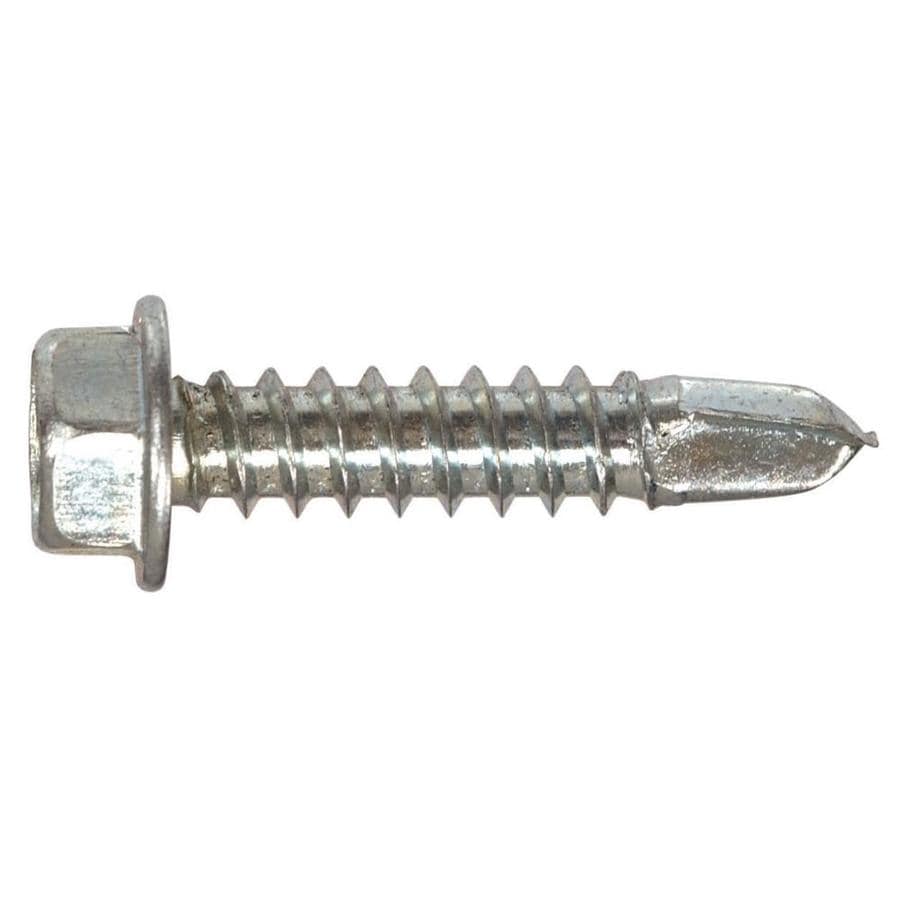
Something like this for a countersinking bit. 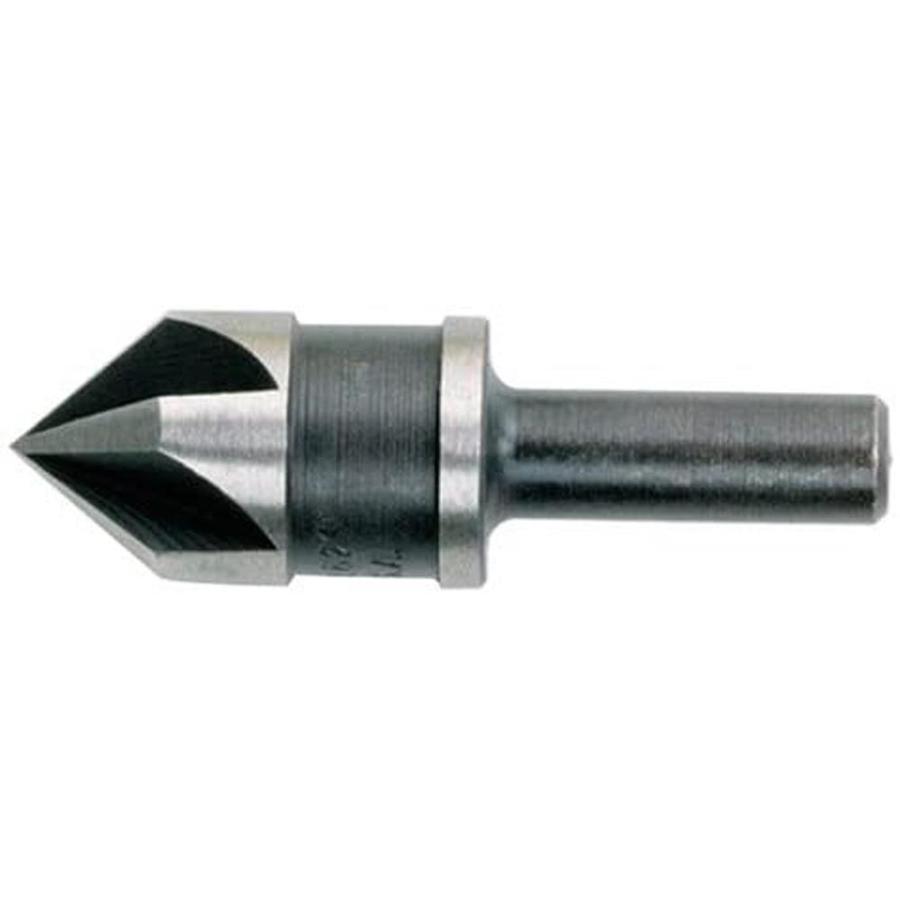
|
|
|
|
|
03-25-2019, 07:07 PM
|
#68
|
|
Bus Nut
Join Date: Sep 2017
Location: Damascus, OR
Posts: 681
Year: 2004
Chassis: International
Engine: T444e w/ 2000 Allison Trans
Rated Cap: 35
|
|
|
|
|
|
03-27-2019, 02:00 PM
|
#69
|
|
Bus Nut
Join Date: Sep 2017
Location: Damascus, OR
Posts: 681
Year: 2004
Chassis: International
Engine: T444e w/ 2000 Allison Trans
Rated Cap: 35
|
Got a lot of progress done on the bus this weekend. I mounted the av cover directly to the ribs to save an inch of headroom. I clear under it by an inch so I needed that inch. just cut around the outside of the cover and it looks good. got the wiring roughed in for the lights. I also changed out the heater loop back to the engine. It was 2 different sizes so I found enough fittings to make it work when I changed it from the old set up using landscaping elbows which where only rated up to 110 degrees to a cooper set up. I feel much better about this as I don't need any problems driving down the road. Also starting to work smarter and not harder, loosening the fittings to a slow leak and letting my shopvac suck up all the radiator fluid and avoided a big pink mess.
|
|
|
|
|
03-27-2019, 11:38 PM
|
#70
|
|
Bus Geek
Join Date: Sep 2015
Posts: 3,856
Year: 2002
Coachwork: Thomas Built Bus
Chassis: Freightliner FS65
Engine: Caterpillar 3126E Diesel
Rated Cap: 71 Passenger- 30,000 lbs.
|
FYI: There may be a cutoff valve up near the driver seat which will allow you to drain the heater and heater lines without draining a lot of the engine coolant.
|
|
|
|
|
03-28-2019, 11:05 AM
|
#71
|
|
Bus Nut
Join Date: Sep 2017
Location: Damascus, OR
Posts: 681
Year: 2004
Chassis: International
Engine: T444e w/ 2000 Allison Trans
Rated Cap: 35
|
Quote:
Originally Posted by Native
FYI: There may be a cutoff valve up near the driver seat which will allow you to drain the heater and heater lines without draining a lot of the engine coolant.
|
You are correct! it was shut off and the only coolant to drain was in the lines behind the shutoff valve and whatever was inside the drivers heater. I think it was around a gallon that I lost.
|
|
|
|
|
03-28-2019, 02:56 PM
|
#72
|
|
Bus Geek
Join Date: Sep 2015
Posts: 3,856
Year: 2002
Coachwork: Thomas Built Bus
Chassis: Freightliner FS65
Engine: Caterpillar 3126E Diesel
Rated Cap: 71 Passenger- 30,000 lbs.
|
Quote:
Originally Posted by Rovobay
You are correct! it was shut off and the only coolant to drain was in the lines behind the shutoff valve and whatever was inside the drivers heater. I think it was around a gallon that I lost.
|
Ah good deal. A gallon sounds about right.
I helped a fellow skoolie drain her lines. We brought the heater and lines out the passenger door and disconnected the lines at the heater , which was in a bucket. Then we removed the lines with the heater end still in the bucket to allow the coolant to drain out into the bucket. Not much spillage there.
Funny, I can not remember how I did ours! Must have been the same way or else how did I know how to do it for hers? 
|
|
|
|
|
03-30-2019, 09:36 PM
|
#73
|
|
New Member
Join Date: Mar 2019
Posts: 1
|
Ah, hit your last post and I will have to be patient for the rest of the build. Thanks for sharing such a great conversion. We are just starting ours. We have 19’ from the back door to the back of the driver’s seat - so many ideas with so little space!
|
|
|
|
|
03-31-2019, 04:19 PM
|
#74
|
|
Bus Nut
Join Date: Apr 2018
Location: Palmer, AK
Posts: 279
Year: 2004
Coachwork: Thomas
Chassis: Saf T Liner MVP 11 window 32
Engine: CAT 3126E
Rated Cap: 72
|
Quote:
Originally Posted by Rovobay
this unit is a knockoff of a Jotul 602.
|
Awesome find! I had the same Jotul version in my last house, it was about 900 square feet of cabin. I loved that stove. You mentioned fire brick...mine had it factory installed, so no experience without it. I would venture to guess you won't need the extra space inside the firebox so it's probably a good thought. I'm sure the stove was designed to have it, as mine came off the shelf with it. You'll get that bus sauna hot in no time. Nice job on the refurb!
|
|
|
|
|
04-02-2019, 11:12 AM
|
#75
|
|
Skoolie
Join Date: Sep 2018
Location: St. Charles County Missouri
Posts: 194
Year: 1997
Coachwork: Bluebird International
Chassis: 3800
Engine: T444e
Rated Cap: 35
|
Nice looking build. I am enjoying watching your progress.
Now I just need to get a bus 
|

|
|
|
04-07-2019, 04:06 PM
|
#76
|
|
Bus Nut
Join Date: Sep 2017
Location: Damascus, OR
Posts: 681
Year: 2004
Chassis: International
Engine: T444e w/ 2000 Allison Trans
Rated Cap: 35
|
Cabinets are painted. they were free and one was cherry and the other was maple. while at lowes I found some counter tops on clearance. 60% off. The cherry cabinets are lower so I built them up to the same height at the other. this is where I will install my cooktop. this way I won't loose any drawer space when I install it.


|
|
|
|
|
04-22-2019, 07:24 PM
|
#77
|
|
Bus Nut
Join Date: Sep 2017
Location: Damascus, OR
Posts: 681
Year: 2004
Chassis: International
Engine: T444e w/ 2000 Allison Trans
Rated Cap: 35
|
|
|
|
|
|
04-25-2019, 12:11 PM
|
#78
|
|
Bus Nut
Join Date: Apr 2018
Location: Barrie ON
Posts: 440
Year: 1997
Coachwork: Thomas
Chassis: International
Engine: T444E
Rated Cap: 72
|
Looks good, nice and refreshed
|
|
|
|
|
05-21-2019, 11:10 PM
|
#79
|
|
Bus Nut
Join Date: Sep 2017
Location: Damascus, OR
Posts: 681
Year: 2004
Chassis: International
Engine: T444e w/ 2000 Allison Trans
Rated Cap: 35
|
This was a post in a different thread but I wanted to share it here too. May 15.
Been trying to clean up all the wires in the bus before I start building my kitchen. I thought I was making great progress and continually started the bus every so often to make sure I didn't cut something that would have me up shittte creek. well bus started and then I realized I made a huge mistake and none of my rear lights work. ugh. Just needed to vent I am confident that I will eventually find my mistakes but this is just another setback in skoolie life.
|
|
|
|
|
05-21-2019, 11:11 PM
|
#80
|
|
Bus Nut
Join Date: Sep 2017
Location: Damascus, OR
Posts: 681
Year: 2004
Chassis: International
Engine: T444e w/ 2000 Allison Trans
Rated Cap: 35
|
Sunday, I spent around 4 hours splicing and reattaching wires that I removed from the bus. I am happy to say that all is well. I now have a full Rubbermaid tote full of wires that have been removed from my bus. I have everything wrapped in their protective sleeves. I didn't want the headache of trying to completely remove the indicator panel so it is now mounted just behind the drive near the bottom where it can live out its life in peace. I can finally get back to actual tangible progress of framing out the front and rear caps of the bus with wood. then kitchen time!
I have also installed the bus seats that will be the convertible dinette for the kids to sleep and travel. I was thinking van seats, but I did save these damnn things for over a year in my garage. plus they were free.... pics to come.
|
|
|
|
|
|
 Posting Rules
|
You may not post new threads
You may not post replies
You may not post attachments
You may not edit your posts
HTML code is Off
|
|
|
|
 » Recent Threads
 |
|
|
|
|
|
|
|
|
|
|
|
|
|
|
|
|
|
|
|
|
|
|
|
|
|
|
|
|
|
|
|
|
|
|
|
|
|


 Linear Mode

