 |
 08-07-2018, 07:36 PM
|
#1
|
|
Bus Nut
Join Date: May 2018
Location: the Missouri Ozarks
Posts: 258
Year: 1997
Coachwork: BlueBird
Chassis: International 3800
Engine: 466e
Rated Cap: its Yuge
|
Tongue and Groove Ceiling questions
I am getting so close to working on the inside, i can feel it 
Almost done with insulation, planning on tongue and groove on the ceiling, but wanted to run some thoughts by those who have done it.
1. Main concern i have is shrinkage/expansion of the boards. I am not living in the bus full time, just using occasionally, and it will only be heated/air conditioned occasionally. Has anybody had experience or problems with this?
2. I don't plan to use glue, just finish screws thru the tongue at an angle into the ribs. Any thoughts on this.
3. Planning to start at the center with 2 boards grooves together and a thin piece of wood serving as a tongue between them. The thought is that it would be easier to keep straight over just half of it.
Anyhow, any help or advice is much appreciated.
Thx!
|

|

|
|
08-08-2018, 08:24 AM
|
#2
|
|
Bus Nut
Join Date: May 2018
Location: the Missouri Ozarks
Posts: 258
Year: 1997
Coachwork: BlueBird
Chassis: International 3800
Engine: 466e
Rated Cap: its Yuge
|
Also interested i most people treat the wood with polyurethane/stain after they install or before?
|
|
|
|
|
08-08-2018, 08:52 AM
|
#3
|
|
Bus Crazy
Join Date: May 2016
Location: Grayson County, VA
Posts: 1,428
Year: 1996
Coachwork: Amtran
Chassis: International
Engine: DT466
Rated Cap: 65
|
Quote:
Originally Posted by MambaJack

Also interested i most people treat the wood with polyurethane/stain after they install or before?
|
I don't know how most people do it....and we didn't do tongue and groove, we did sheets of 5mm luan underlayment, so take this with a grain of salt. It was much easier to paint them before we put them up, and a heck of a lot less messy. Also, with bare wood, you'll be able to finish both sides of the wood if you want the extra protection from moisture, which IMO wouldn't be a bad idea.
|
|
|
|
|
08-08-2018, 11:10 AM
|
#4
|
|
Mini-Skoolie
Join Date: Feb 2017
Location: WI
Posts: 55
Year: 1995
Chassis: International 3600
Engine: T444E
|
I agree with finishing them before you put them up. I used a water based poly. I went from the driver side and up over to the passenger side. The curve is a bit of a pain, but I added furring strips to mine to make something solid to anchor to. 
|
|
|
|
|
08-08-2018, 08:08 PM
|
#5
|
|
Bus Nut
Join Date: Oct 2016
Location: NY
Posts: 774
Year: 2002
Coachwork: International
Engine: dt466
Rated Cap: 65C-43A
|
Here's what I used and it worked out well. Each 8' plank is so light I could carry it balanced on one finger. I like the fact that it's thin and lightweight...
I used minwax poly/stain first. Started from the center and worked my way out. I have to say it looks really nice.
Here it is from Home Depot and then the finished product...
Sorry my pics aren't that great. If I remember, I'll take more tomorrow.   
|
|
|
|
|
08-08-2018, 11:20 PM
|
#6
|
|
Bus Nut
Join Date: Feb 2018
Location: Tahoe
Posts: 513
Year: 1997
Coachwork: International
Chassis: 3000RE
Engine: T444E w/ MT643
Rated Cap: 84 pass, 40'
|
Quote:
Originally Posted by Drew Bru
I don't know how most people do it....and we didn't do tongue and groove, we did sheets of 5mm luan underlayment, so take this with a grain of salt. It was much easier to paint them before we put them up, and a heck of a lot less messy. Also, with bare wood, you'll be able to finish both sides of the wood if you want the extra protection from moisture, which IMO wouldn't be a bad idea.
|
The wood will absorb and release water more evenly if both sides are treated and it's less likely to get warped if it gets wet at some point. You have to cut it to the right length first if you want to be able to do both sides and all the edges which is why most people don't do it. I plan to.
__________________
middle aged mom on a learning adventure
|
|
|
|
|
08-09-2018, 08:29 AM
|
#7
|
|
Bus Nut
Join Date: Oct 2016
Location: NY
Posts: 774
Year: 2002
Coachwork: International
Engine: dt466
Rated Cap: 65C-43A
|
Quote:
Originally Posted by 2martins
The wood will absorb and release water more evenly if both sides are treated and it's less likely to get warped if it gets wet at some point. You have to cut it to the right length first if you want to be able to do both sides and all the edges which is why most people don't do it. I plan to.
|
You are absolutely correct. That's the way I did it. Every square inch of the plank was treated...ends as well.
I forgot to mention that the leftover scraps I have laying out in the yard, have gotten rained on all summer long and have not warped in any way. It's been an unusually rainy summer here too!! But they look as beautiful as the day I first treated them.
|
|
|
|
|
08-13-2018, 07:27 PM
|
#8
|
|
Bus Nut
Join Date: Jan 2018
Location: Brevard County, FL
Posts: 911
Year: 1990
Coachwork: Bluebird
Chassis: Ford
Engine: 6.6 New Holland Diesel
Rated Cap: 60 kids, 10 window
|
I used a preprimed tongue and groove. It's thick. I started at one side and just worked up and over. I got lucky that it fit like a glove. The picture looks like drivers side is higher, but it's not. Did the first 3-4 rows by myself until some help showed u. I added 2x2 to the side of the bus ribs to attach to  
__________________
Nick
|
|
|
|
|
08-14-2018, 07:24 AM
|
#9
|
|
Skoolie
Join Date: Jul 2015
Location: Manitou Springs, CO
Posts: 219
Year: 1991
Coachwork: Ward
Chassis: International 3800
Engine: DT466
Rated Cap: 65 passenger
|
What method has everyone used to attach the T&G. Any problems with your choice?
|
|
|
|
|
08-14-2018, 05:51 PM
|
#10
|
|
Skoolie
Join Date: Aug 2017
Location: Kingston, WA
Posts: 111
Year: 1995
Coachwork: Thomas
Chassis: MVP
Engine: 8.3L Cummins Turbo
|
Quote:
Originally Posted by karrlot
What method has everyone used to attach the T&G. Any problems with your choice?
|
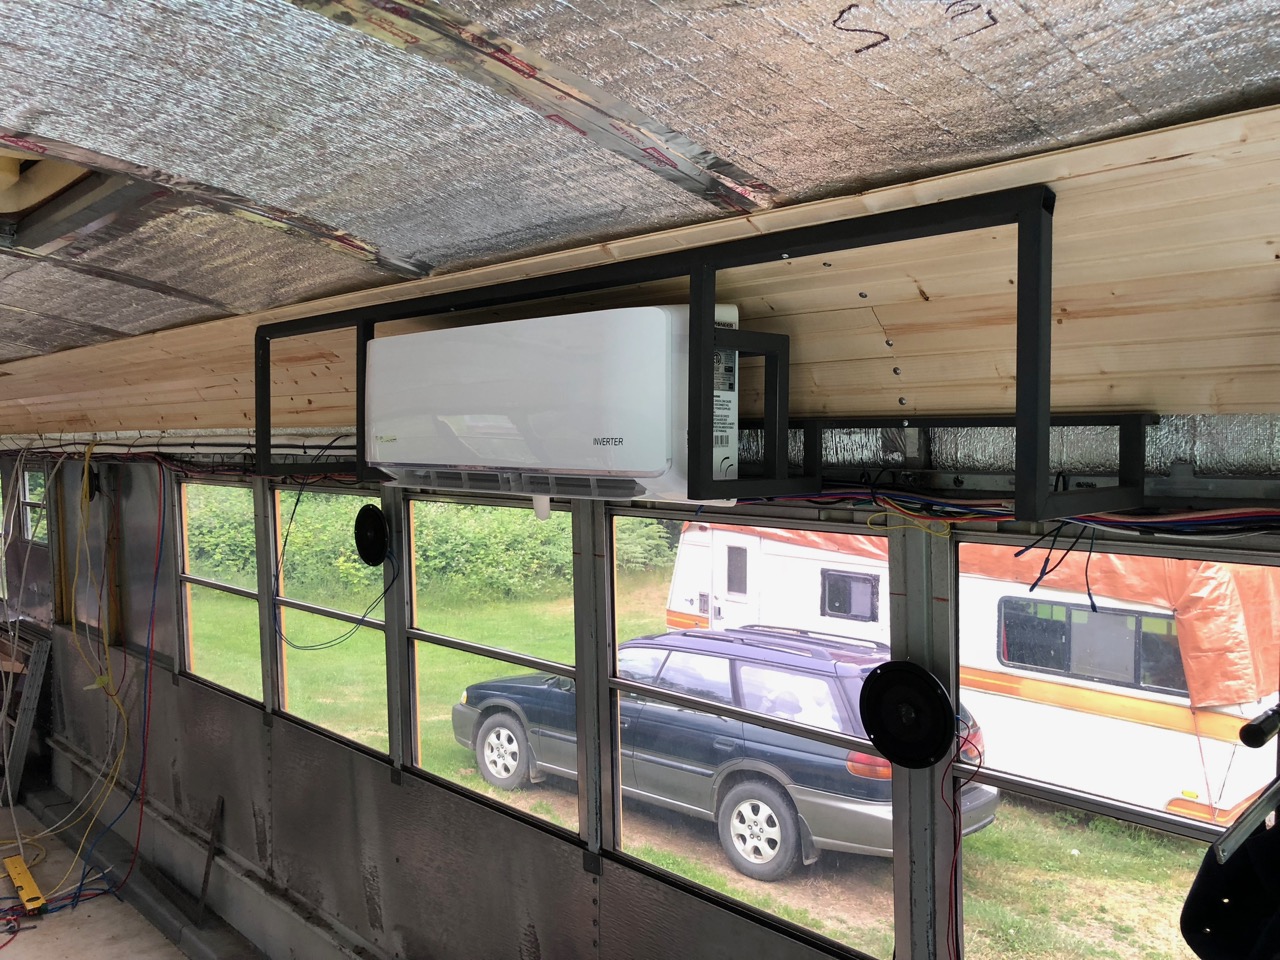
my ceiling is T&G knotty pine bead board. I use self drilling SS Lath screws one in the middle of the lower half of the board at each ceiling rib. I cut the pieces to length so the joint is at a rib and then have a screw between the planks lengthwise. This should allow flexibility for expansion / contraction without splitting.
To install the adjacent plank, I first fill the groove with henry's "crystal clear" silicone calk. to stop potential rattles.
Note: I'm not finished yet...
Pic:
|
|
|
|
|
08-14-2018, 05:53 PM
|
#11
|
|
Bus Nut
Join Date: Jan 2018
Location: Brevard County, FL
Posts: 911
Year: 1990
Coachwork: Bluebird
Chassis: Ford
Engine: 6.6 New Holland Diesel
Rated Cap: 60 kids, 10 window
|
I screwed into the 2x2. Then covered the holes with spackle and sanded to cover the screws.
__________________
Nick
|
|
|
|
|
08-14-2018, 09:59 PM
|
#12
|
|
Bus Nut
Join Date: May 2018
Location: the Missouri Ozarks
Posts: 258
Year: 1997
Coachwork: BlueBird
Chassis: International 3800
Engine: 466e
Rated Cap: its Yuge
|
Thanks everybody for the tips. There are some great looking ceilings there
I held off a little bit, but will hopefully get some work in on the ceiling this weekend, will try to take some pics.
|
|
|
|
|
08-21-2018, 08:10 AM
|
#13
|
|
Mini-Skoolie
Join Date: Feb 2017
Location: New York
Posts: 52
Year: 2005
|
Jumpin in late
I didn't want to remove the panels on the ceiling... they are structural. So, I cut a bunch of strips of 1/4" plywood, layered them with glue, and created arches. Those were tapped into the ceiling panels right next to each rib. This gave me flexibility with how I wanted to shape the ceiling. I screwed the t&g to these.
Added benefit: No thermal transfer from the metal, through the screws.


|
|
|
|
|
08-21-2018, 08:28 AM
|
#14
|
|
Bus Geek
Join Date: Sep 2014
Location: Eustis FLORIDA
Posts: 23,764
Year: 1999
Coachwork: Thomas
Chassis: Freighliner FS65
Engine: Cat 3126
Rated Cap: 15
|
Quote:
Originally Posted by BoringGravy
I didn't want to remove the panels on the ceiling... they are structural. So, I cut a bunch of strips of 1/4" plywood, layered them with glue, and created arches. Those were tapped into the ceiling panels right next to each rib. This gave me flexibility with how I wanted to shape the ceiling. I screwed the t&g to these.
Added benefit: No thermal transfer from the metal, through the screws.
|
If one doesn't want to demo the metal interior they don't have to. That's the beauty of it.
But man if they're structural its like .0000001% structural. I've run a bus up and down rough roads with it all pulled off. No ill effects. The frame, ribs and chair rail are the main structure. The tongue and groove is probably as "structural" as the metal it usually replaces.
To each their own- but for the folks reading along out there don't skip this because you're afraid that the structure of the bus is going to be compromised. Skip it because you're in a hurry, skip it because you just don't care, skip it for whatever reason... But don't skip it out of fear!

|
|
|
|
|
| Thread Tools |
|
|
| Display Modes |
 Linear Mode Linear Mode
|
 Posting Rules
|
You may not post new threads
You may not post replies
You may not post attachments
You may not edit your posts
HTML code is Off
|
|
|
|
 » Recent Threads
 |
|
|
|
|
|
|
|
|
|
|
|
|
|
|
|
|
|
|
|
|
|
|
|
|
|
|
|
|
|
|
|
|
|
|
|
|
|


